The sharpening guide
Grit, angle and care, explained
The grit scale, angles per knife, the six steps, stone care, steel types and the mail-in service. Keep it open beside the stones.
Grit guide
Coarse to polish, step by step
Grit numbers measure how fine the abrasive is. Start only as coarse as the edge needs, then work up the scale.
| Stage | Grit | What it does | When to use it | Soak (sample) |
|---|---|---|---|---|
| Coarse | 120–400 | Removes steel fast, reshapes the bevel, takes out chips | A damaged tip, chips, a very dull edge | 10–15 min |
| Medium | 800–1500 | Sets a clean edge and removes coarse scratches | Regular sharpening, every few weeks | 10 min |
| Fine | 2000–4000 | Refines the edge for smoother, cleaner cuts | After the medium stone | Splash |
| Polish | 6000–8000 | Polishes the bevel to a bright finish | Slicers, single-bevel knives, razors | Splash |
| Strop | Compound | Removes the last burr and aligns the edge | After every session and between them | Dry |
Angle guide
The right angle for each knife
The angle is measured per side, between the blade and the stone. Lower angles cut more finely; higher angles last longer.
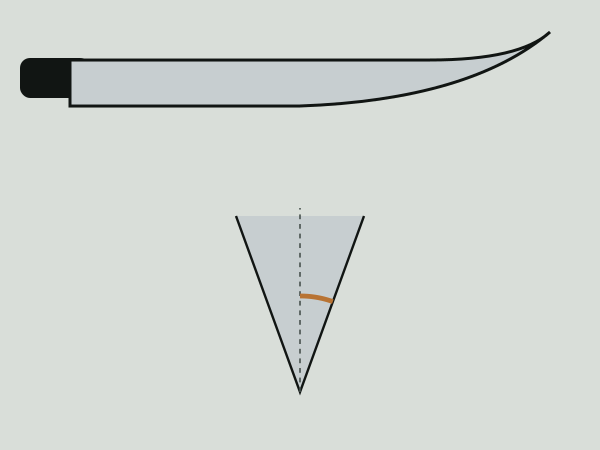
Chef's knife
15–20°
A good all-round angle for a Western-style kitchen knife.
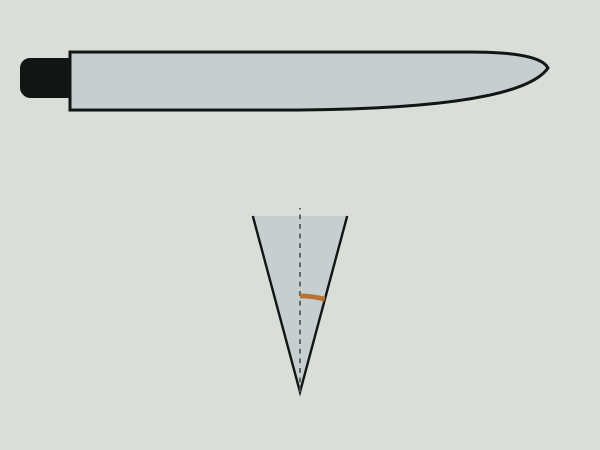
Santoku
12–15°
Thinner blades take a lower angle for fine slicing.
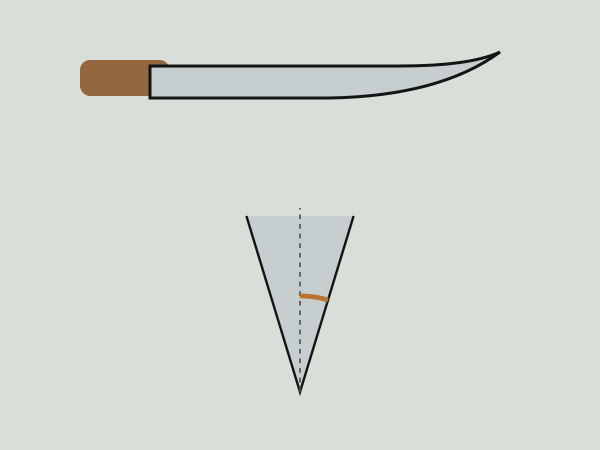
Paring knife
15–17°
Small blades, short strokes; keep the angle steady.
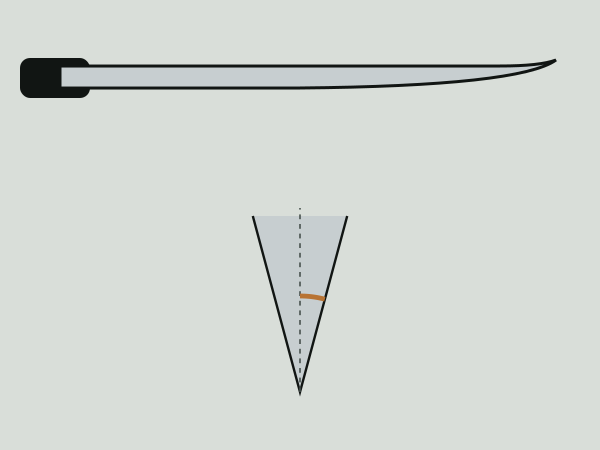
Slicing knife
12–15°
Long, thin blades for clean slices; finish on a fine stone.
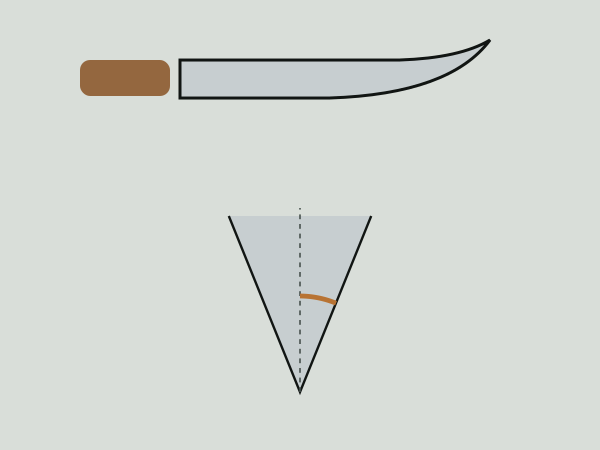
Pocket knife
20–25°
A tougher edge for opening boxes and outdoor jobs.
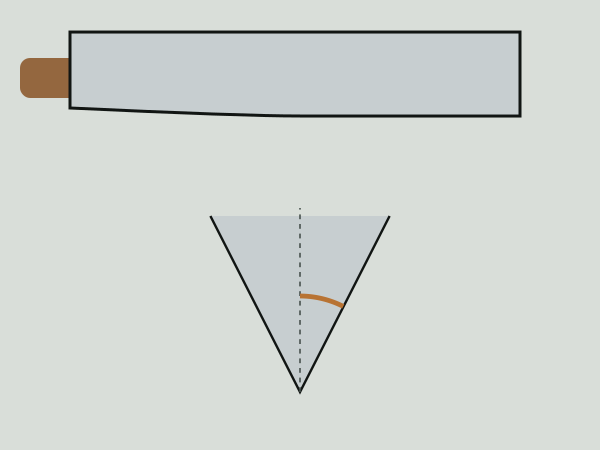
Cleaver
25–30°
A strong, steep edge for heavy work.

Safety note (placeholder): add your own guidance for handling and sharpening knives here.
Angles are sample guidance; follow the knife maker’s own advice where it differs.
Sharpening steps
Six steps on a water stone
The same routine works on every grit. Take your time; steady strokes matter more than speed.

01
Soak or splash
Soak a soaking stone until the bubbles stop; splash-and-go stones only need water on top.

02
Set the angle
Use an angle guide clip or a coin under the spine until the angle feels natural.

03
Raise a burr
Work one side until you feel a light burr along the whole opposite edge.

04
Switch sides
Repeat on the other side, then move to the next finer grit.

05
Strop the edge
Pull the edge backwards over the strop, spine first, a few times per side.

06
Test and clean
Test on paper or a tomato, rinse the stone and let everything dry.
Safety note (placeholder): your shop’s safety advice for sharpening goes here.
Stone care
Keep the stone flat and it keeps the edge true
A dished stone rounds the edge. A minute of care after each session keeps the surface flat.

Flatten often
Rub the stone on a flattening plate under water until the pencil grid you drew on it is gone.
Keep it wet
Add water as you work so the slurry stays wet; never let the surface run dry.

Dry slowly
Let the stone air-dry at room temperature, away from heaters and direct sun.

Store it flat
Keep it in its box or holder, coarse and fine stones apart.
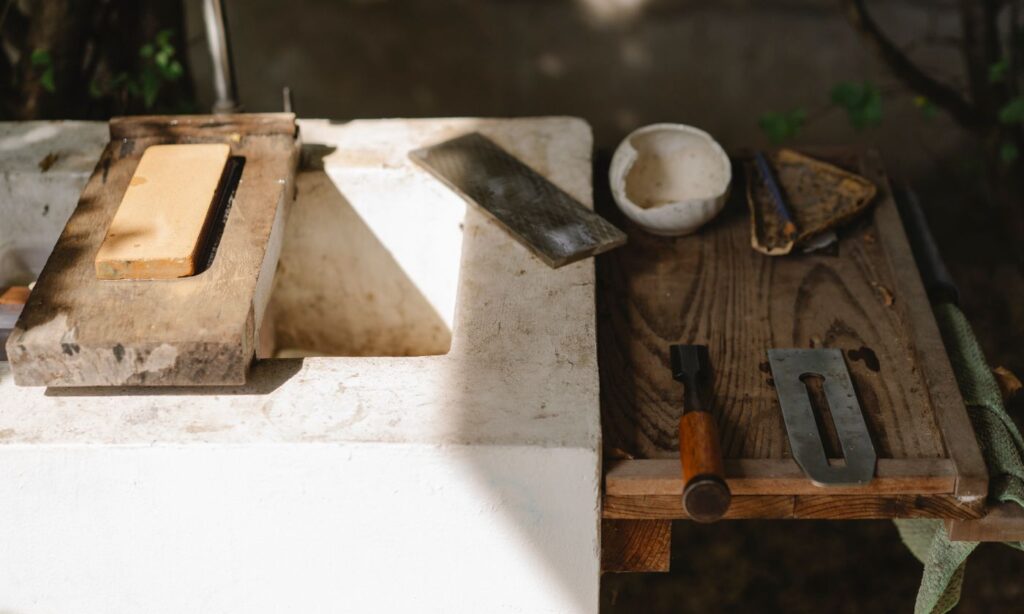
Knife steel chart
Which grits suit your steel?
Harder steel holds an edge longer but takes more time on the stones. Generic steel types only; check your knife maker’s details.
| Steel type | Hardness (sample) | Start on | Finish on | Notes |
|---|---|---|---|---|
| Softer stainless | 54–56 HRC | 1000 | 3000 | Easy to sharpen, needs it more often |
| Harder stainless | 57–60 HRC | 1000 | 4000–6000 | The most common kitchen steel |
| Carbon steel | 58–62 HRC | 1000 | 6000 | Takes a keen edge; dry it straight after use |
| Powder steel | 60–64 HRC | 400–1000 | 6000–8000 | Slow on soft stones; use a harder stone |
| Clad / layered blade | Core 60–63 HRC | 1000 | 4000–8000 | Keep an even angle to protect the cladding look |
Kit builder
Build a sharpening kit in four steps
Pick one option per step. The starter kit covers most kitchens; add a coarse stone if your knives have chips.
1
Medium stone
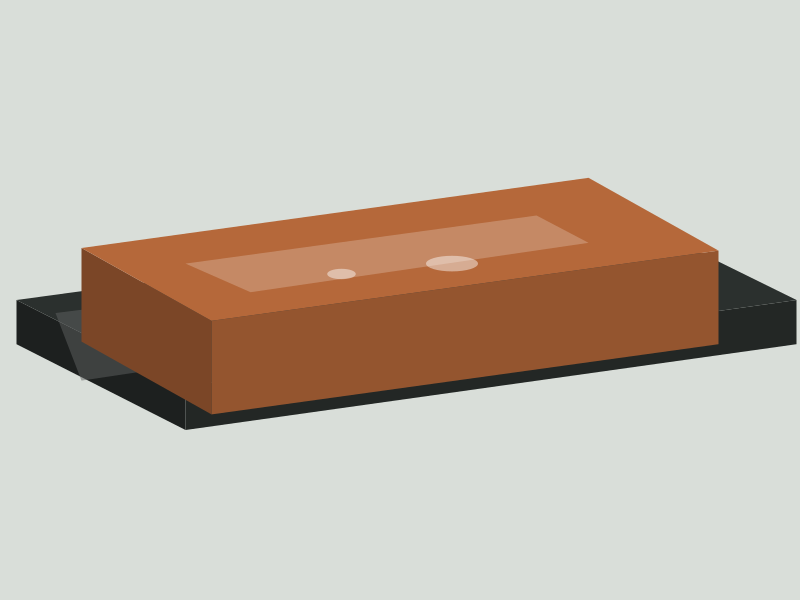
1000
1500
1000/3000
2
Finishing stone
3000
4000
6000
8000
3
Strop
None
Single-sided
Double-sided
4
Extras
Stone holder
Angle clips
Flattening plate
Your kit (sample)
Starter kit
- Medium stone 1000
- Polishing stone 6000
- Single-sided strop
- Stone holder and angle clips
$119 · Example price
A live kit picker needs a product bundles plugin; the demo sells two ready kits.
Mail-in sharpening
Send your knives, get them back sharp
No time for the stones? Book the service, post your knives in our padded box and we sharpen them by hand, coarse to polish.
1. Book online
Choose how many knives and the finish you want.
2. Pack and post
We send a padded box with blade guards and a prepaid label (sample).
3. We sharpen by hand
Each knife goes through the grits and is stropped and tested.
4. Back in about a week
Tracked return, with a note on the angle we used (sample times).
Sample prices
Per knife, working edge
$9
Per knife, polished edge
$14
Chip or tip repair
+ $6
Return postage
$7.50
Example prices and times for the demo store. Serrated and ceramic knives are not accepted (sample terms).
Guide questions
Grit, angle and steel questions
Short answers to what people ask while choosing.
Do I need every grit?
No. A 1000 and a 4000–6000 stone cover most kitchens. Coarse stones are for repairs; polish stones are a finishing choice.
How do I know I have a burr?
Run a fingertip gently away from the edge on the opposite side; a burr feels like a slight catch (see the safety note).
Strop with or without compound?
Plain leather removes the burr; a little compound adds a finer polish.
Why does my stone go hollow?
Most strokes land in the middle. Use the whole surface and flatten the stone regularly.